Changing OAMP Address for MC
The following procedure describes how to initially access an "MC" Media Component's Web interface and change its OAMP address.
|
➢
|
To initially configure the MC's OAMP address: |
|
1.
|
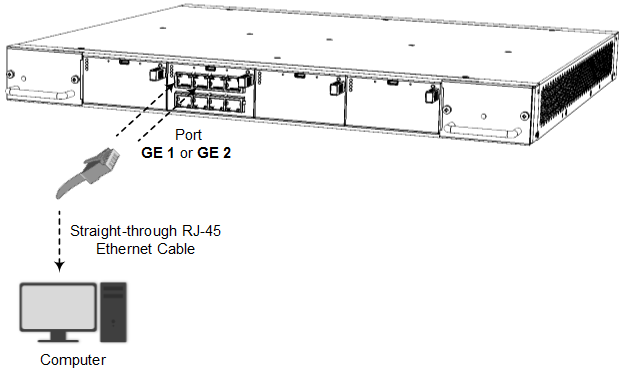
Connect the Media Component's Ethernet port GE 1 or GE 2, located on the front panel (top-left ports), directly to your computer's network interface port, using a straight-through Ethernet cable: |

|
2.
|
Change the IP address and subnet mask of your computer to correspond with the Media Component's default OAMP IP address and subnet mask. |
|
3.
|
Access the Web interface using the default IP address and then login using the default username ("Admin") and password ("Admin"). |
|
4.
|
Configure the Ethernet ports that you want to use for the OAMP interface: |


|
c.
|
In the Ethernet Devices table, configure an Ethernet Device by assigning it the Ethernet Group and configuring a VLAN ID (see Configuring Underlying Ethernet Devices), as shown in the example below: |


|
5.
|
Click Apply, and then restart the device with a save-to-flash for your settings to take effect. |
|
6.
|
Disconnect the cable between the Media Component and your computer, and then cable the Media Component to your network using the Ethernet port configured for OAMP. |
|
7.
|
Reconnect to the Media Component's Web interface using the new OAMP interface address. |


